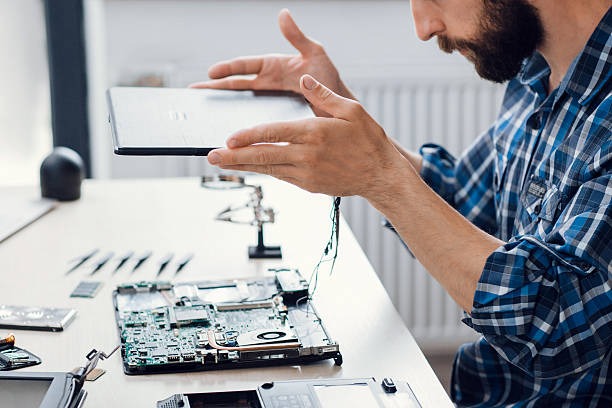
Ever found yourself tempted to pry open your laptop, intrigued by the inner workings beneath its sleek exterior? Before embarking on a DIY journey into the arena of laptop disassembly, heed this guide for a safe and expert approach, ensuring you don't turn your device into a pricey pile of scrap.
Ever found yourself tempted to pry open your laptop, intrigued by the inner workings beneath its sleek exterior? Before embarking on a DIY journey into the arena of laptop disassembly, heed this guide for a safe and expert approach, ensuring you don't turn your device into a pricey pile of scrap.
Prioritizing Safety: Fundamental Precautions
- Power down and unplug: Disconnect everything before laying hands on a screw to avoid potential zaps or damage to delicate components.
- Clear a workspace: Create a clean, static-free zone on a workbench or anti-static mat, shielding against crumbs and stray paperclips that can harm electronics.
- Gather your tools: Choose precision screwdrivers, pry bars, tweezers, and perhaps a flashlight – the right tools are crucial to prevent unintended damage.
- Document your progress: Capture the disassembly journey through pictures or videos for a seamless reassembly process.
The Disassembly Process
Every laptop model varies, so consulting your specific disassembly guide is crucial. However, the general process involves:
1. Remove the battery: Usually a straightforward task involving a few screws, but check your manual for the battery's specific location.
2. Unscrew the chassis: Locate the screws on the bottom of the laptop, being cautious not to overtighten during reassembly.
3. Disconnect internal cables: Gently detach ribbon cables linking chassis components to the motherboard, paying attention to latches or connectors.
4. Remove components: Depending on your purpose, consider removing components like the optical drive, memory, hard drive, or heat sink. Refer to the manual for specific instructions.
The Art of Reassembly: Piecing it Back Together
Now, the true challenge lies in reassembling your laptop with finesse. Those pictures you took? They're your saving grace. Take your time, verify connections, and avoid forcing anything. A gentle touch is your key to success, because reassembling a laptop isn't just putting the pieces back together, rather it is actually the process of breathing life back into the system, one careful click at a time.
「
reassembling a laptop ... is breathing life back into it
」
Secure the chassis screws, reconnect the battery, and power on. If all went well, your laptop screen will greet you with its familiar glow.
Expert Tips for the Disassembly Enthusiast
1. Label everything: Prior to disconnecting cables, label them with corresponding components to streamline the reassembly process.
2. Organize your screws: Keep track of tiny screws in small containers or compartments for a hassle-free experience.
3. Beware of static: Combat static electricity by working in a non-dry environment and investing in an anti-static wristband.
4. Know your limits: Complex repairs should be left to professionals unless you're confident in your skills.
Laptop disassembly can be a rewarding experience, giving you a deeper understanding of your trusty machine and perhaps even saving you some repair costs. But remember, approach it with caution and respect. By following these guidelines and exercising common sense, you can crack open your laptop and emerge victorious, not with a pile of parts but with a renewed appreciation for your techy companion.
